
The handpan is one of the most captivating instruments out there. Its ethereal tones and mesmerizing sounds have taken the world by storm. If a handpan’s soothing melody has ever enchanted you, you might have wondered, “Can I make my own?” Well, the answer is yes – but it is no small feat!
DIY handpan projects are growing in popularity. People are taking on the challenge of building their unique instruments. But crafting a hang instrument is not as simple as picking up a few tools. It requires precision, skill, and the right materials. While there are handpans for sale from skilled artisans, making your own can be an exciting, rewarding experience.
This article will explore what goes into making a handpan, the tools and materials you will need, and the steps involved. Whether you are a musician or a DIY enthusiast, building your hang drum can be a thrilling project to tackle!
Understanding Handpan Construction
Comprehending the handpan drum’s fundamental components and structure is crucial to know how to construct one.
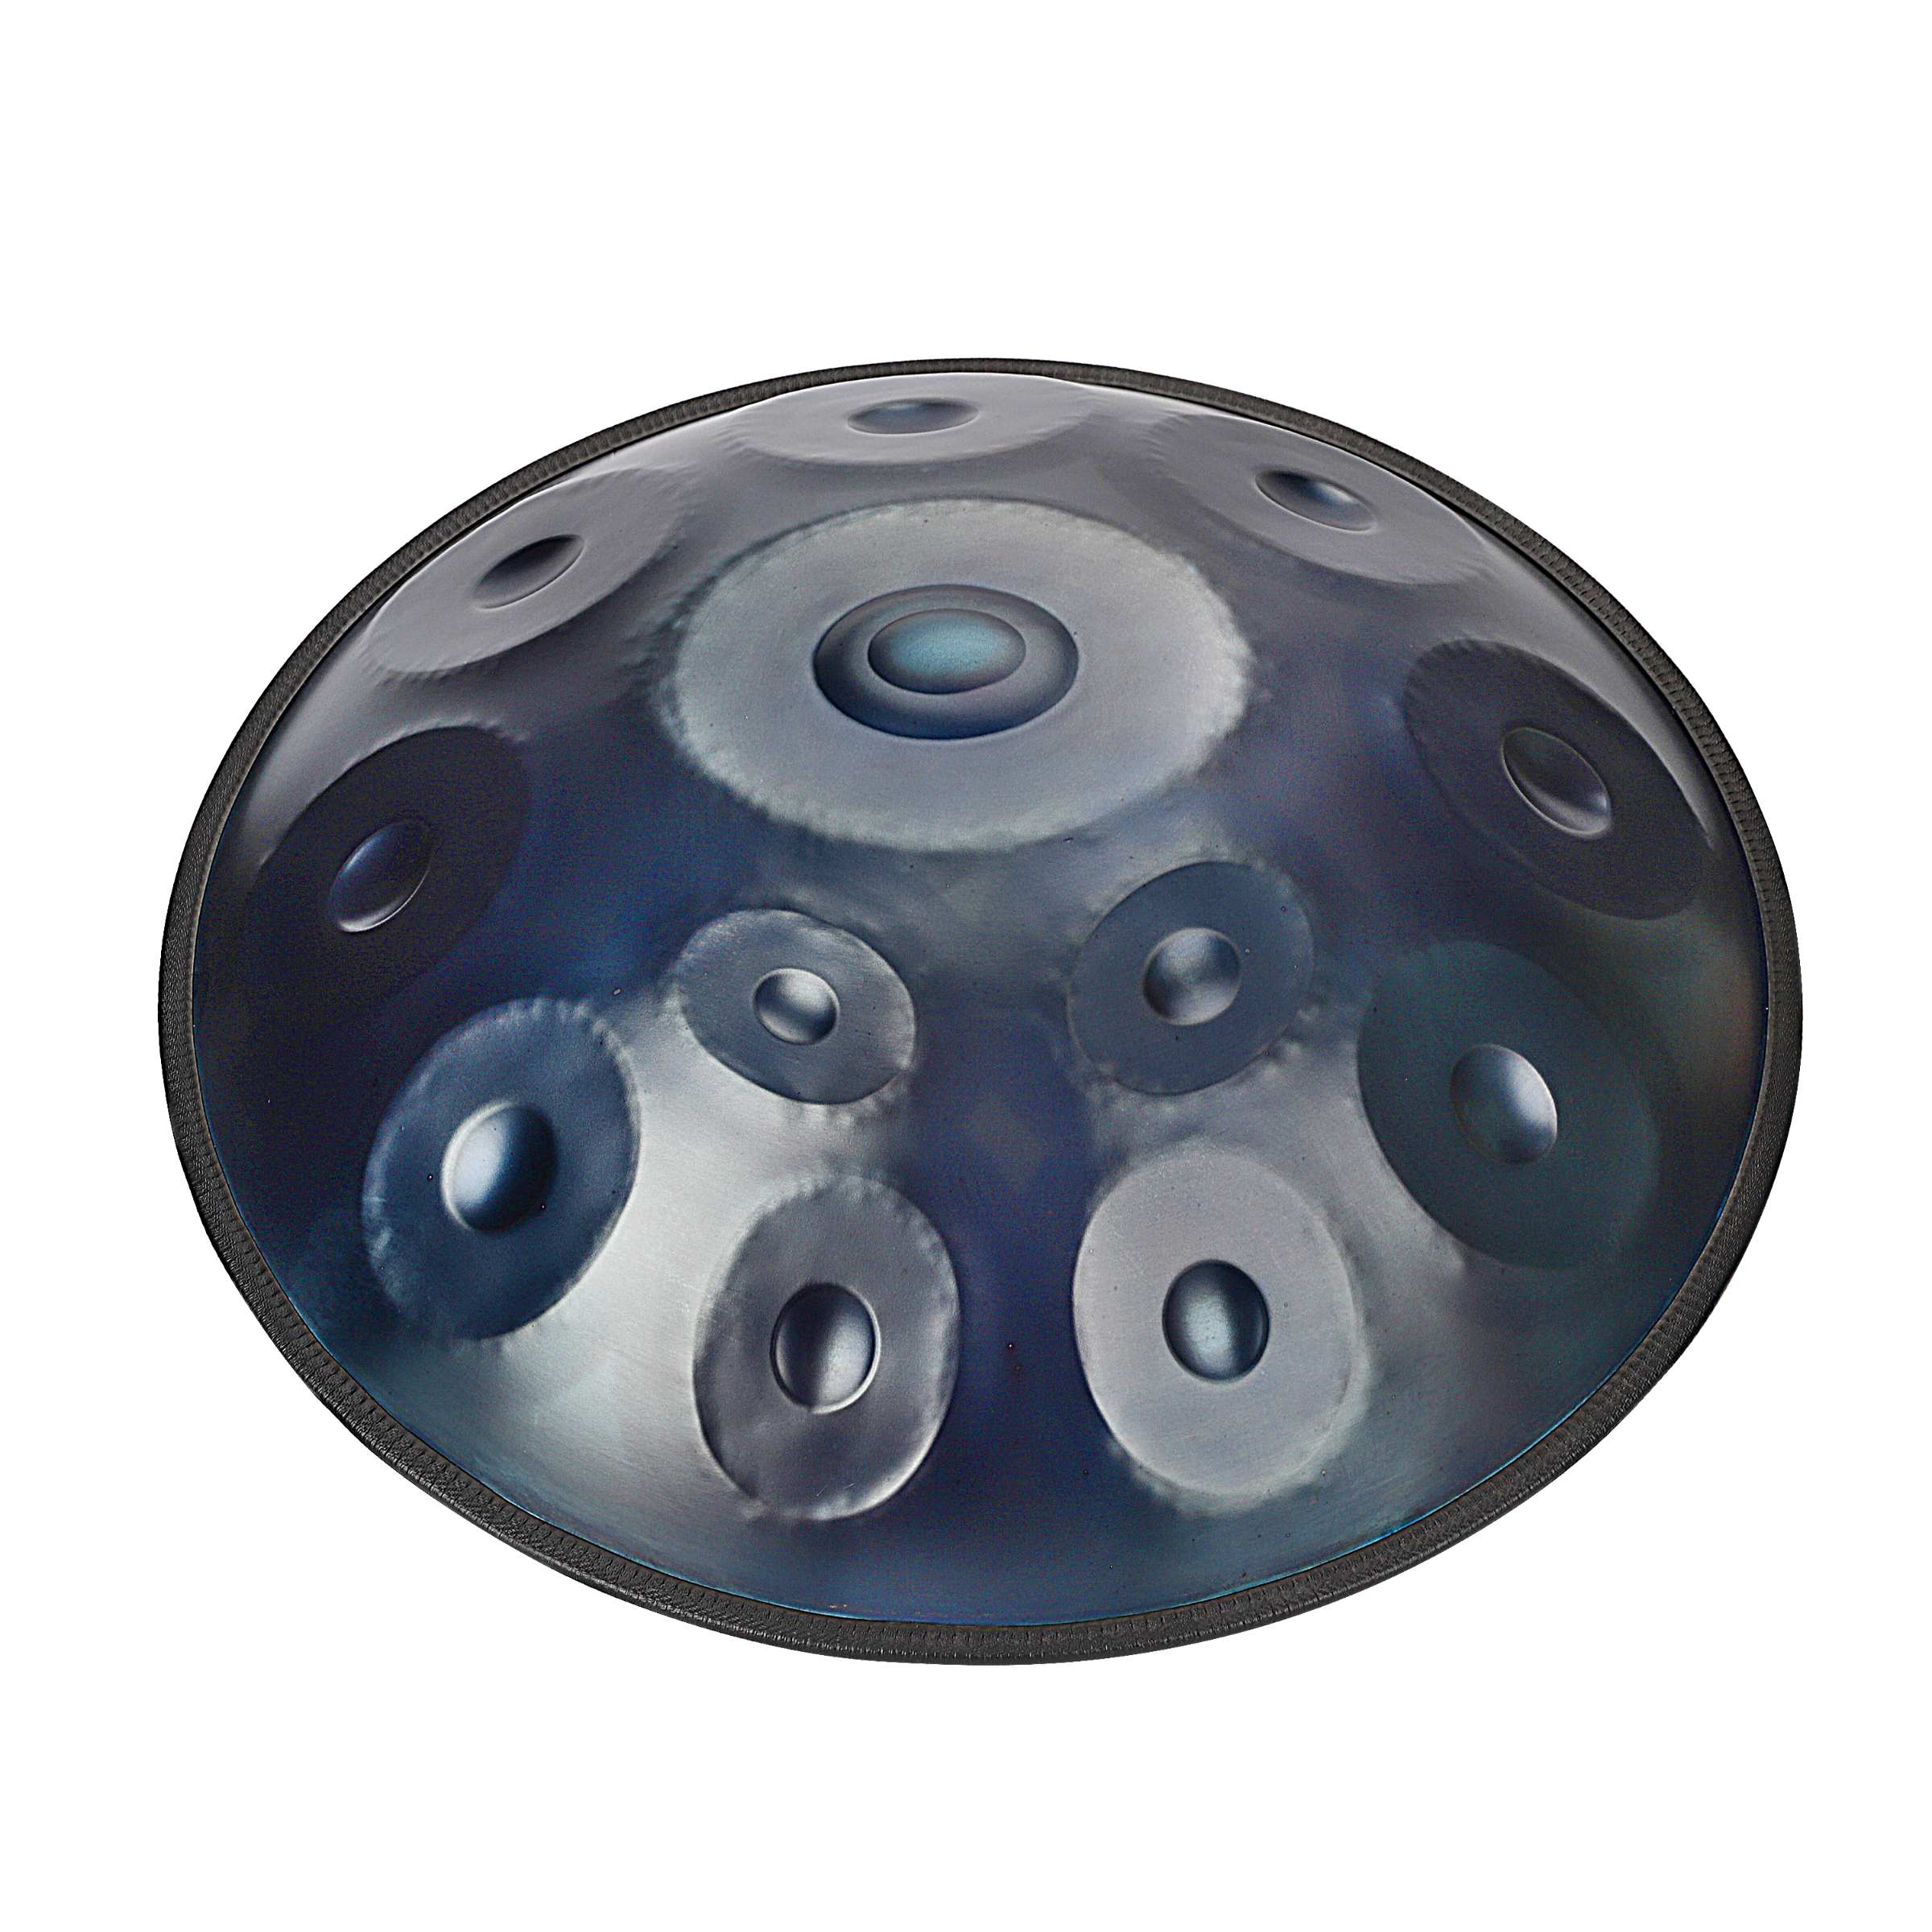
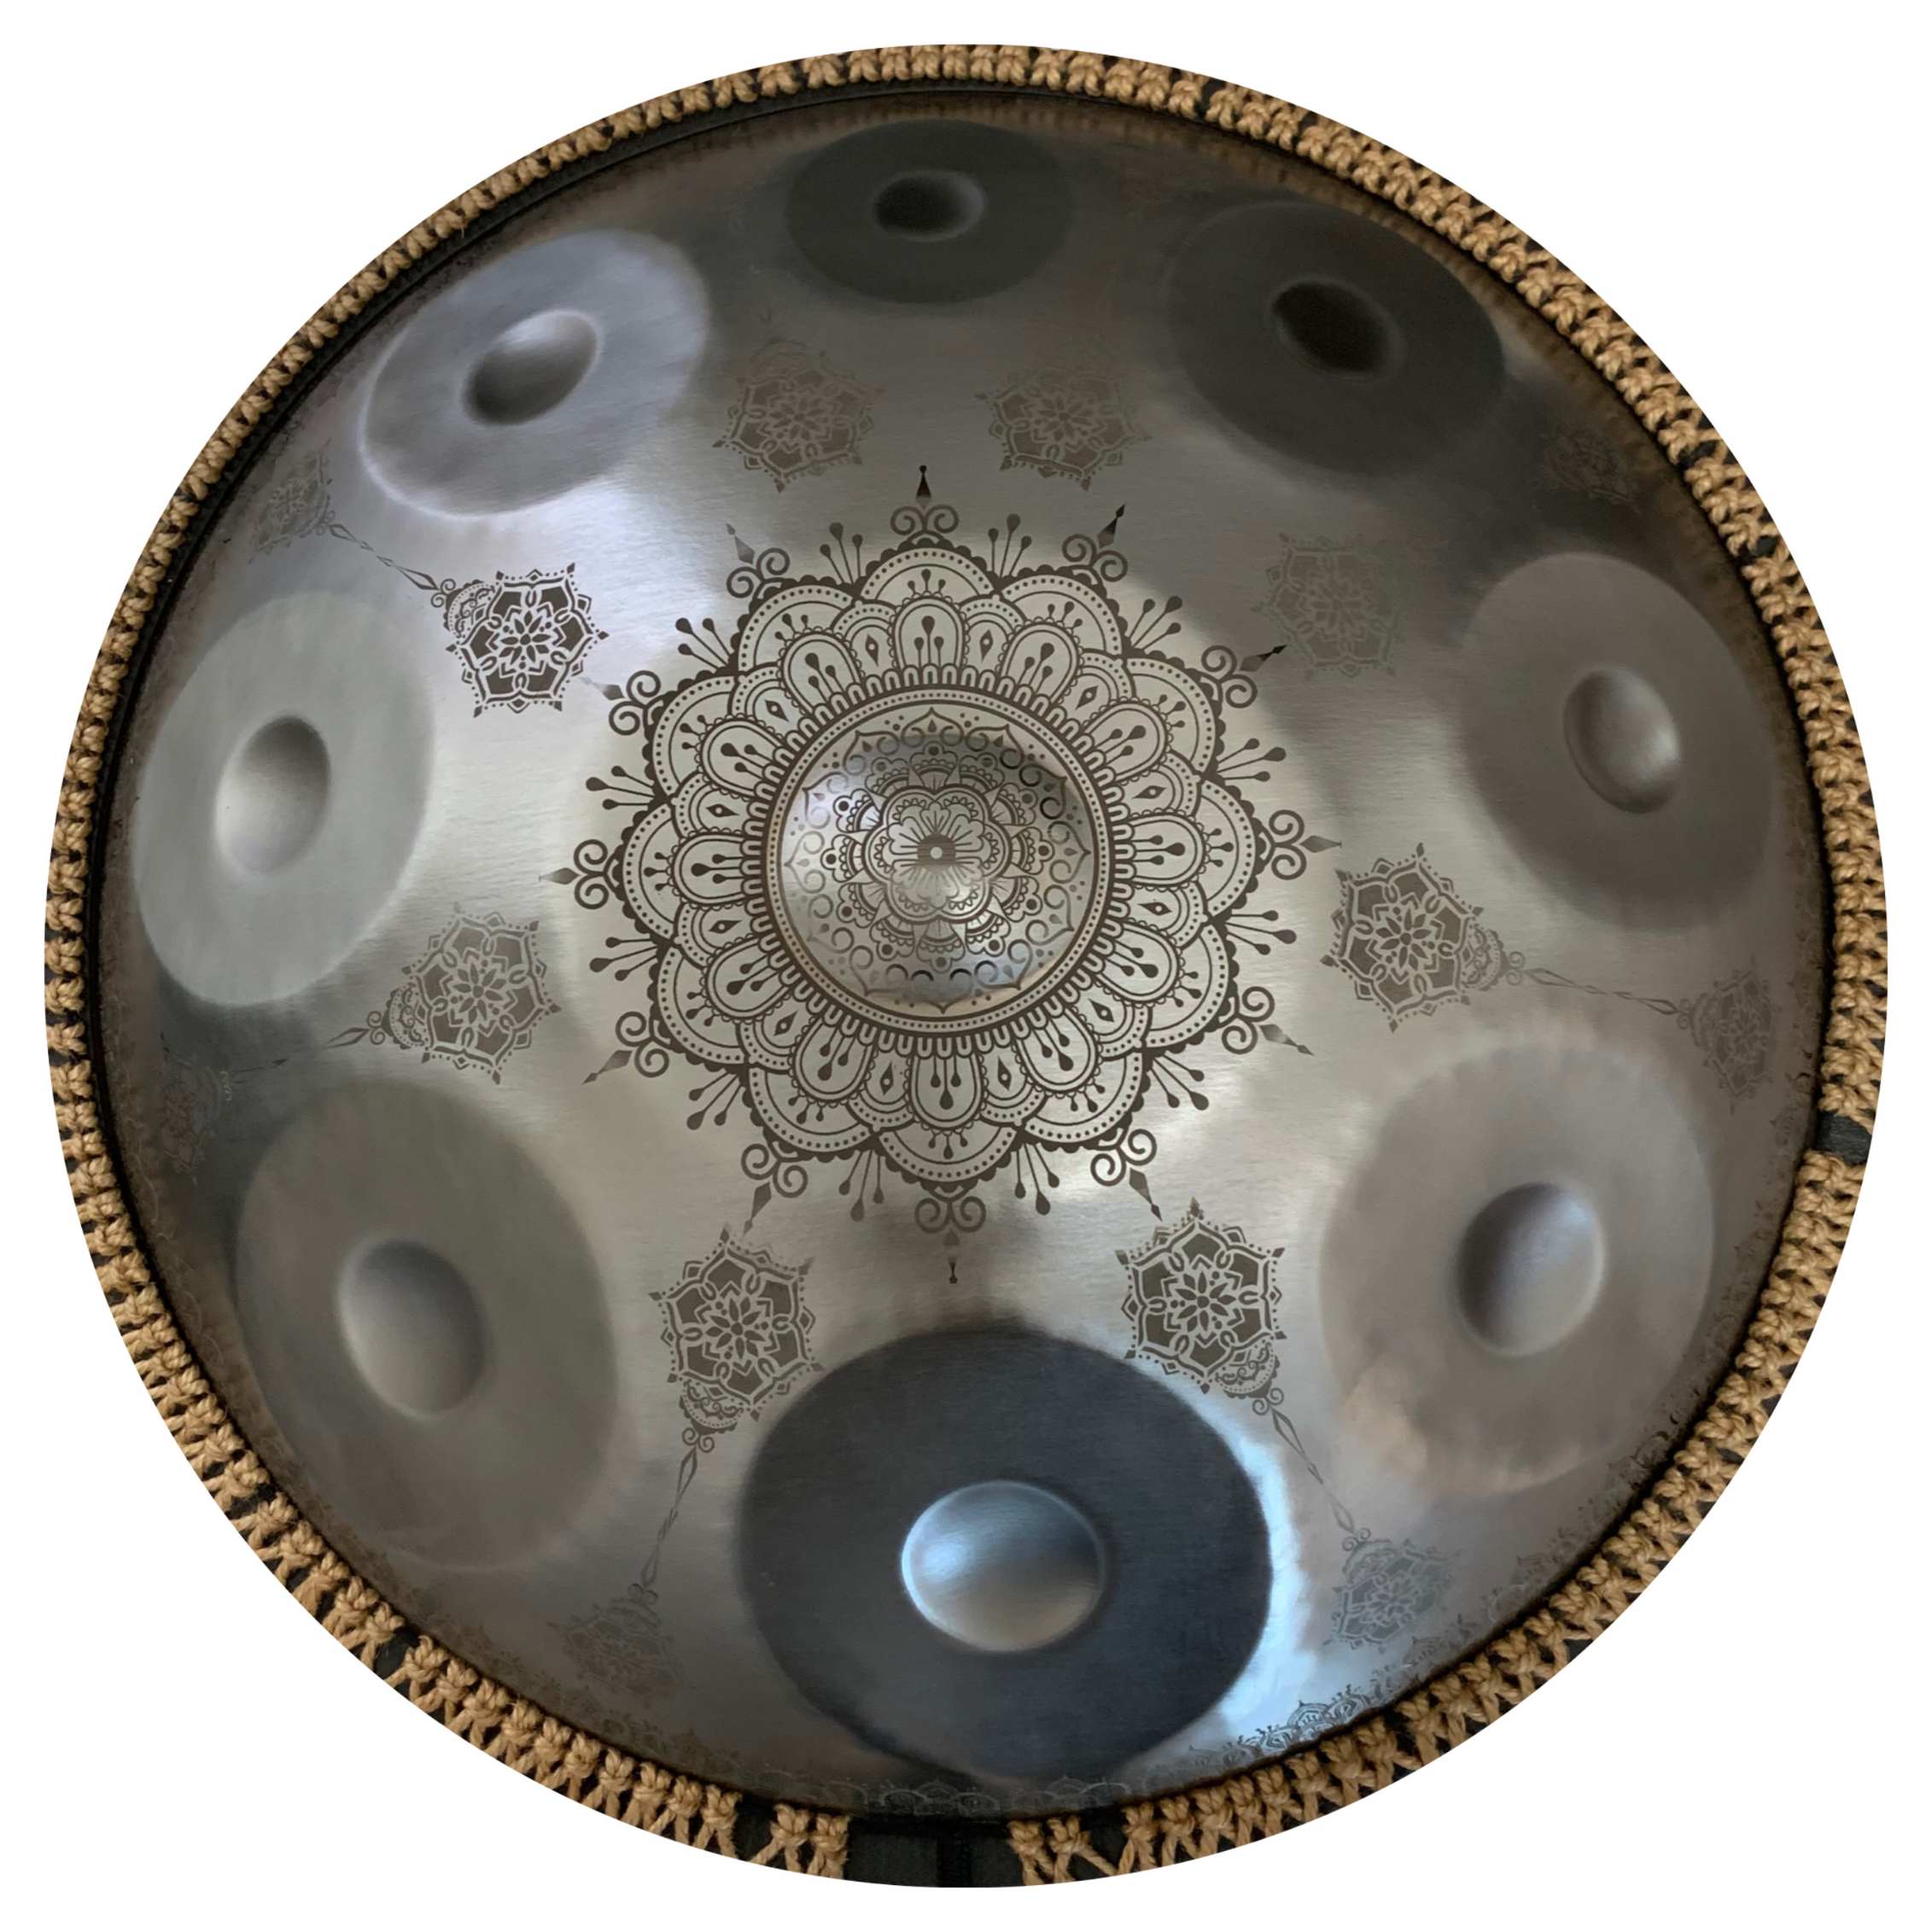
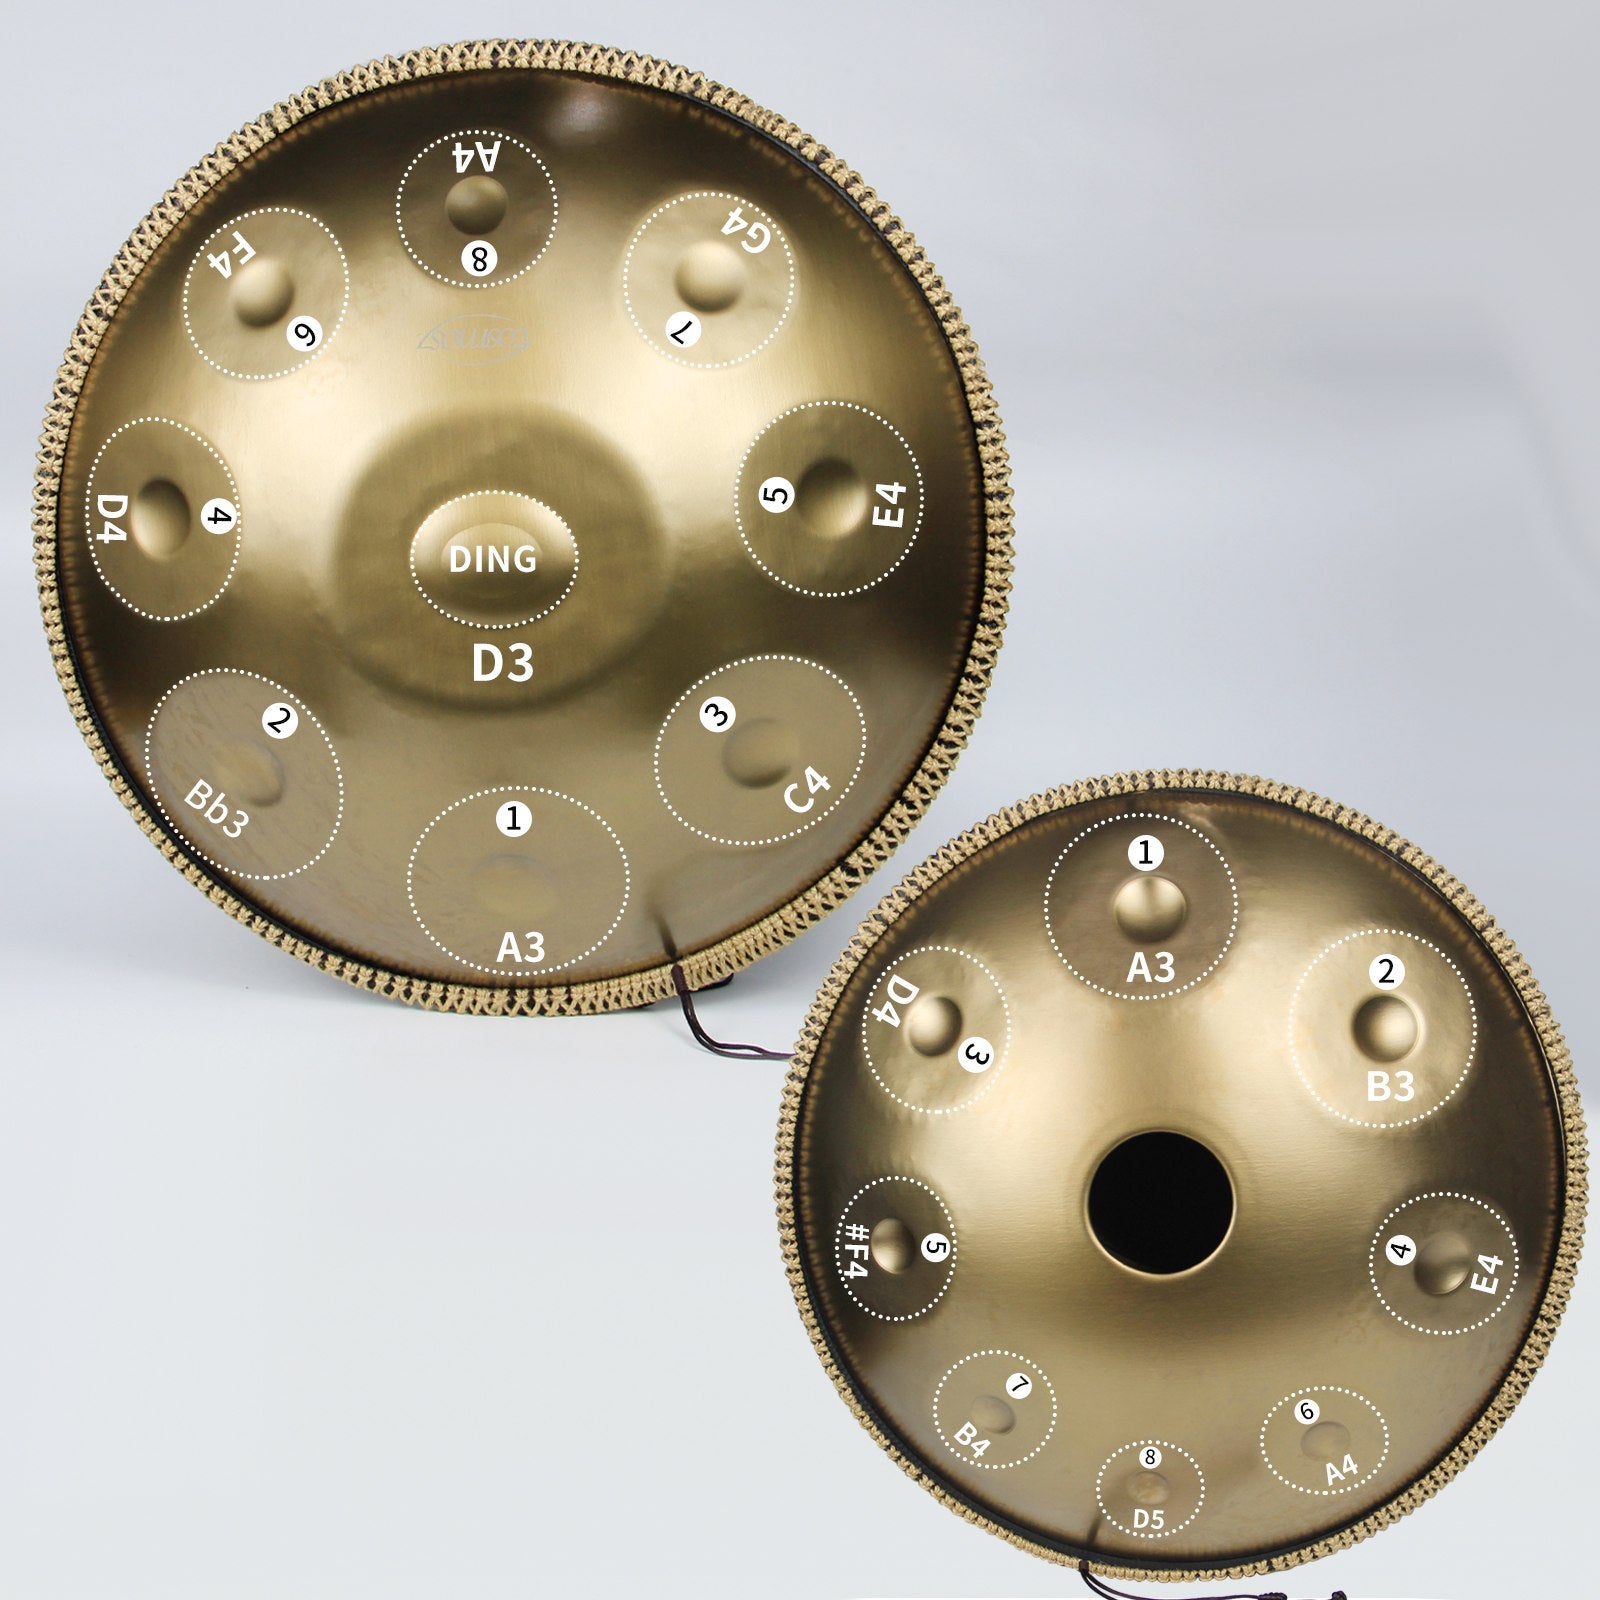
The top and bottom shells are the two primary components that make up a handpan. A set of dimples (known as “note fields”) on the top shell are precisely formed and adjusted to produce particular pitches. These sounds are produced by carefully striking the steel to create the dimples and alter their thickness, which causes each region to vibrate at a distinct frequency.
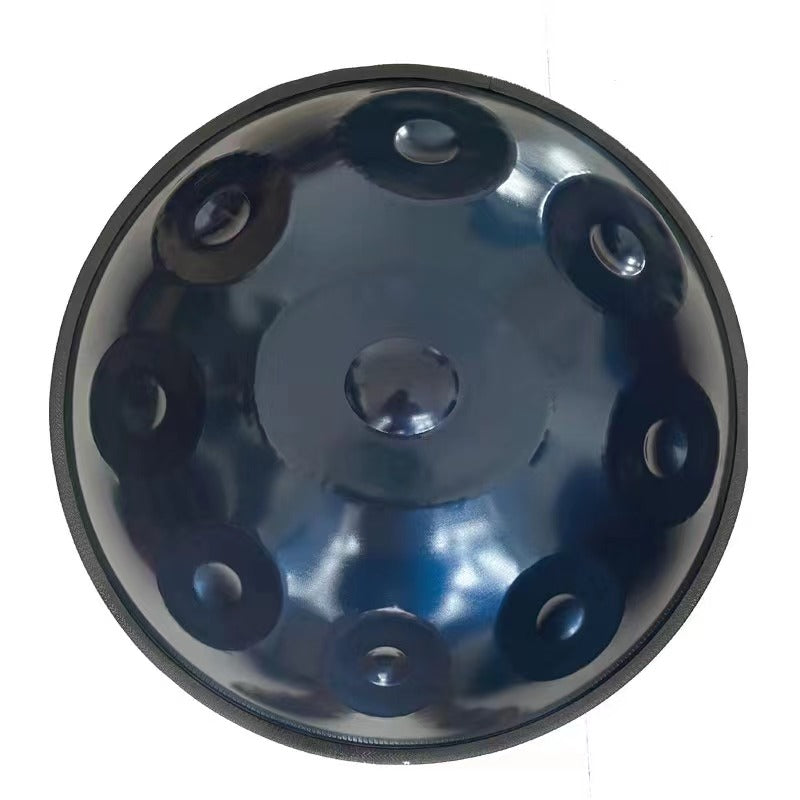
The bottom shell serves as the resonator, giving the sound more depth and richness. Usually, it has a flat surface with a hole in the middle (the “spike”) for projecting sound. Both shells are connected and sealed, allowing for proper resonance and tone production.
In handpan crafting, the materials are as necessary as the shape. Most premium handpans are constructed from nitrided steel, which is heated to harden its surface. This aids in the instrument’s long-term pitch and durability maintenance. To guarantee that the finished object sings in perfect harmony, the construction procedure is painstaking and calls for both technical expertise and a grasp of acoustics.
Tools and Materials Needed for a DIY Handpan
Here is a breakdown of what you will need to get started:
1. Materials
- Steel Sheets:You can also use stainless steel, but nitrided steel is often preferred for its resonance and pitch stability.
- Tuning Blank: These are pre-formed steel blanks used as the starting point for shaping and tuning the handpan.
- Hardening Agents:If you plan to nitride the steel yourself, you will need a nitriding kit or access to a furnace capable of heat treating the steel.
2. Tools
- Hammering Tools: To form the note fields and shape the dimples, a range of hammers, including a peening hammer, is necessary.
- Tuning Tools:Metal files and a tuning hammer are used to assist in forming the dimples to the proper pitch. You will also need tuning rods or other tools to test and adjust the notes.
- Anvil: An anvil offers a firm, sturdy surface for steel shaping.
- Drill and Hole Saw:A drill is required to create the central hole in the bottom shell, which influences the instrument’s resonance.
- Measuring Tools: You need calipers and rulers to guarantee precise proportions because handpan building requires precision.
3. Safety Gear
- Protective Gloves and Goggles: Handling steel and working with heat requires proper safety equipment to protect your hands and eyes.
- Ear Protection: The noise from hammering and metalwork can be loud, so ear protection is recommended.
You can start crafting your handpan pan drum with these tools and materials. However, remember that patience and practice are as important as the right tools!
Steps to Create a Handpan
Here is a step-by-step guide to help you understand how a handpan comes to life:
1. Shaping the Steel Shell
- Prepare the Steel Blank:Achieving the proper resonance requires careful consideration of the blank's dimensions and thickness. A steel disc with a diameter of 20 to 22 inches is used to make the majority of handpans.
- Forming the Shell:Make the steel concave with hammers and an anvil. This forms the handpan’s base shape, enabling the notes to resonate correctly. This stage is completed gradually using heating and hammering to create a domed shape.
2. Marking and Forming the Dimples
- Mark the Notes: Once the shell has the proper shape, you will mark the positions where the note fields will go. To provide uniform pitch distribution, these markers are meticulously spaced.
- Strike the dimples:For the dimples, use a specific hammering technique. Every dimple is a note, and the dimple’s depth and shape affect the pitch.
3. Tuning the Notes
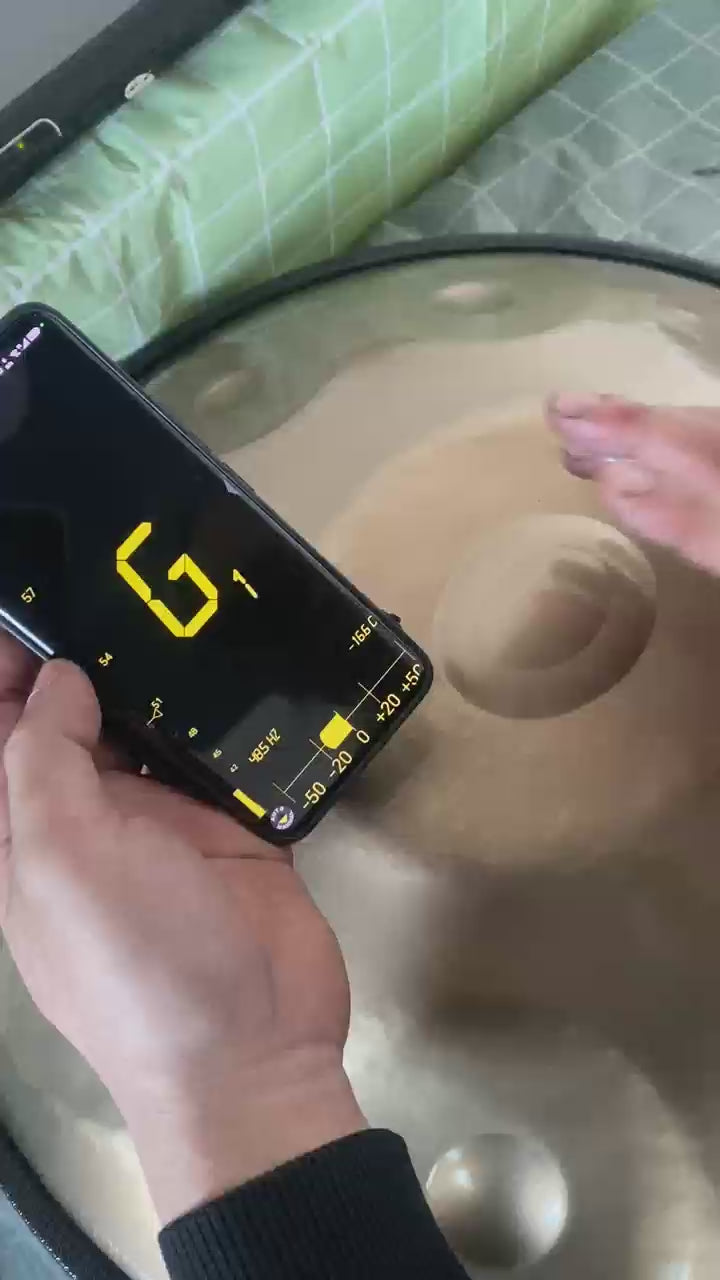
- Pitch refinement:Once the dimples have formed, the handpan is examined for pitch. To change the pitch of each note field, tap it with a tuning hammer. Each note is adjusted until it achieves the appropriate frequency in the delicate tuning process.
- Fine-tuning: To achieve the ideal pitch, you should combine filing and hammering the dimples’ edges. This fine-tuning ensures that the handpan produces harmonious sounds when played.
4. Assembling the Shells
- Attach the Bottom Shell: A flat steel disc with a center hole—called the “spike”—usually makes up the bottom shell. Sound can project from this hole, which also acts as the resonator. The handpan is a sealed item that improves resonance because the bottom shell is welded or riveted to the top shell.
- Check for Seal Integrity:To prevent air leakage, which could alter the instrument's tone, ensure the top and bottom shell connections are tight and securely sealed.
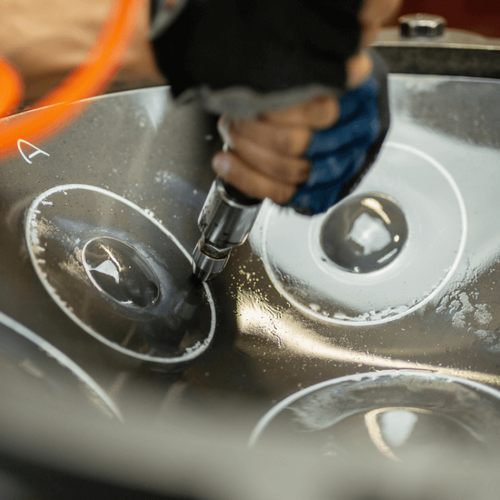
5. Surface Treatment and Hardening
- Nitriding or Hardening:The steel must be treated to improve durability and pitch stability. Nitriding, a heat treatment procedure that hardens the steel and increases its resonance, is used to accomplish this. You can perform this step using a furnace if you did not use pre-nitrided steel.
- Polishing and Finishing: Once the handpan is fully assembled and hardened, it is carefully polished to a smooth finish. This improves its aesthetic appearance and ensures no sharp edges or rough spots.
6. Final Testing and Adjustments
- Play Testing: Once the handpan is assembled, it is time to play it. Testing the sound quality is essential to ensure all notes are in tune and resonate clearly.
- Final Adjustments:After playing it, you may notice specific notes that require further adjustments. Use the tuning hammer or other tools to make minor tweaks until you are satisfied with the overall sound.
Once complete, you will have a handpan crafted from scratch! The entire process can take several weeks, but the result is a beautifully unique, handcrafted instrument that is yours to enjoy and play.