Handpans are captivating instruments with a unique, ethereal sound that has garnered a devoted following. If you've ever wondered if you can make your own handpan, you're not alone. The process is intricate, but with patience and attention to detail, you can create a handpan that sings. This guide will walk you through the steps, from selecting materials to final tuning.
Creating a handpan is a challenging yet rewarding endeavor. It requires specific materials, tools, and techniques to craft an instrument that produces the beautiful, resonant sounds handpans are known for. While the process can be complex, it’s entirely possible to make your own handpan with the right guidance.
Let’s dive into the step-by-step process of making your own handpan.
Preparing the Steel
Start by selecting the right steel. Most builders use 1.0mm thick, 53cm diameter stainless steel shells. This thickness balances workability and durability. Stainless steel is resistant to corrosion, ensuring your handpan lasts long. It also contributes to the bright and clear sound associated with handpans.
Choosing the right material is crucial. Stainless steel offers several benefits:
- Durability: Stainless steel resists corrosion and wear, ensuring a long-lasting instrument.
- Sound Characteristics: The material contributes to the clear and bright sound of the handpan.
- Workability: While strong, stainless steel is malleable enough to shape effectively.
By starting with the right steel, you set a solid foundation for your handpan. The choice of material directly impacts the quality and longevity of your instrument.
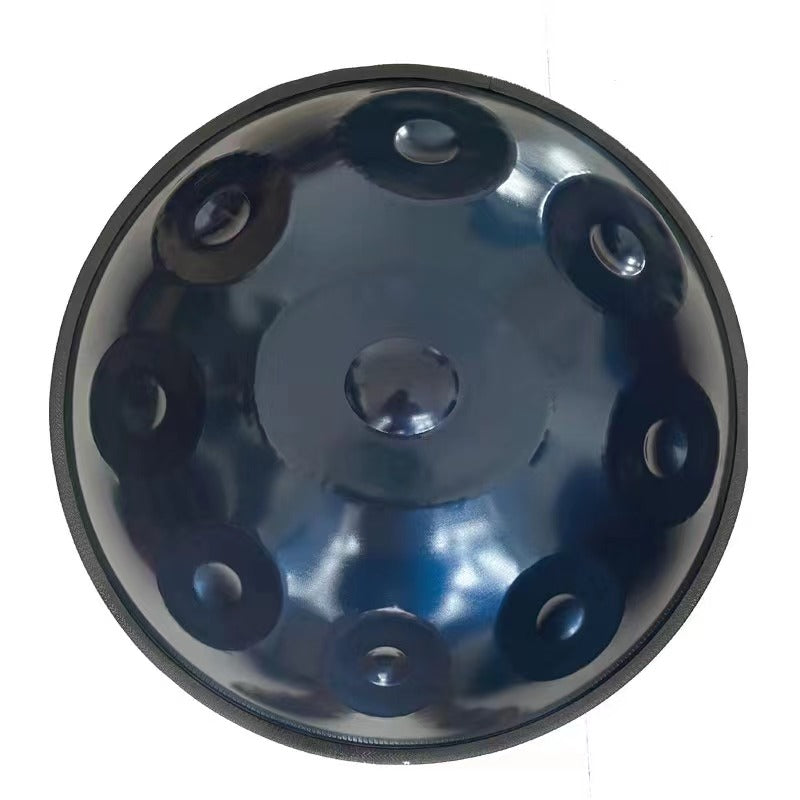
Forming the Shell
Transforming flat steel into the handpan’s bowl shape is the next step. This can be done through various methods, each with its own advantages:
- Hand Sinking: This traditional method uses hammers and anvils to manually shape the steel. It requires skill and practice, offering a more hands-on approach.
- Air Hammers: These tools use compressed air to strike the steel, making shaping faster and more efficient. This method reduces the physical effort needed.
- Mechanical Presses: These provide consistent and repeatable results but need significant investment in equipment. They offer high precision in shaping.
Choose the method that fits your resources and skills best. Each method has its pros and cons, but they all aim to create the foundational bowl shape essential for a handpan.
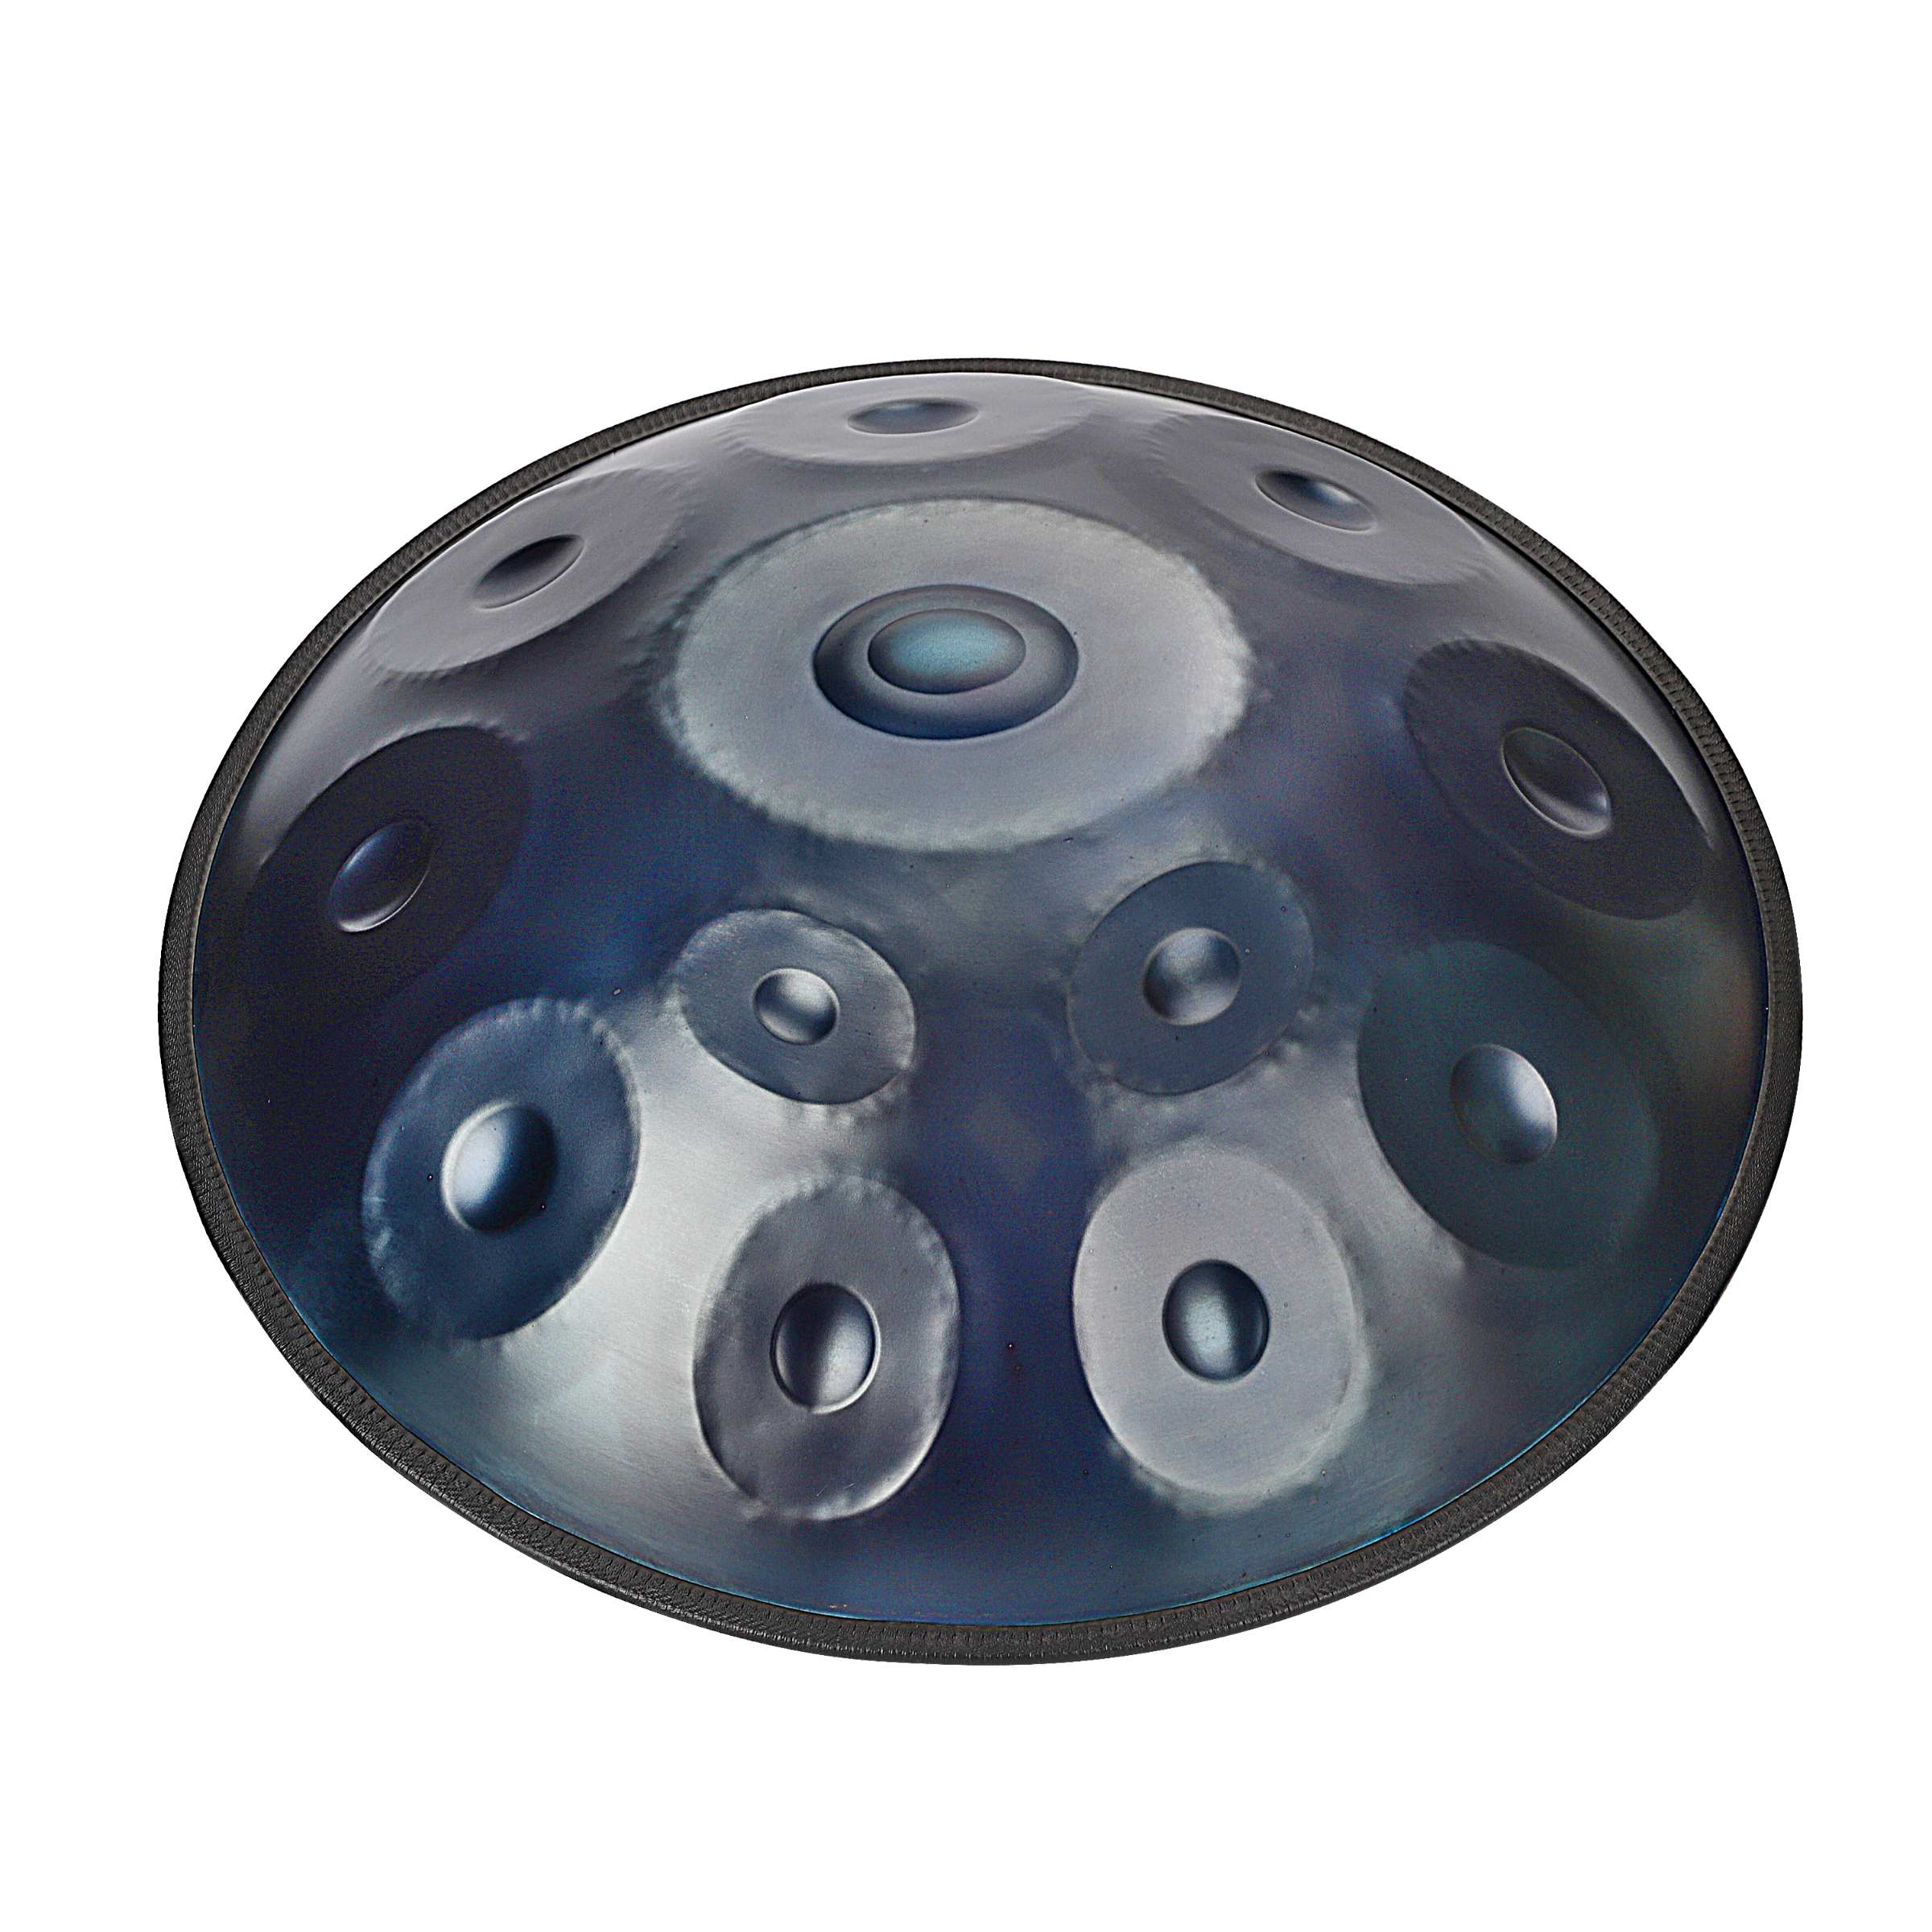
Templating and Shaping
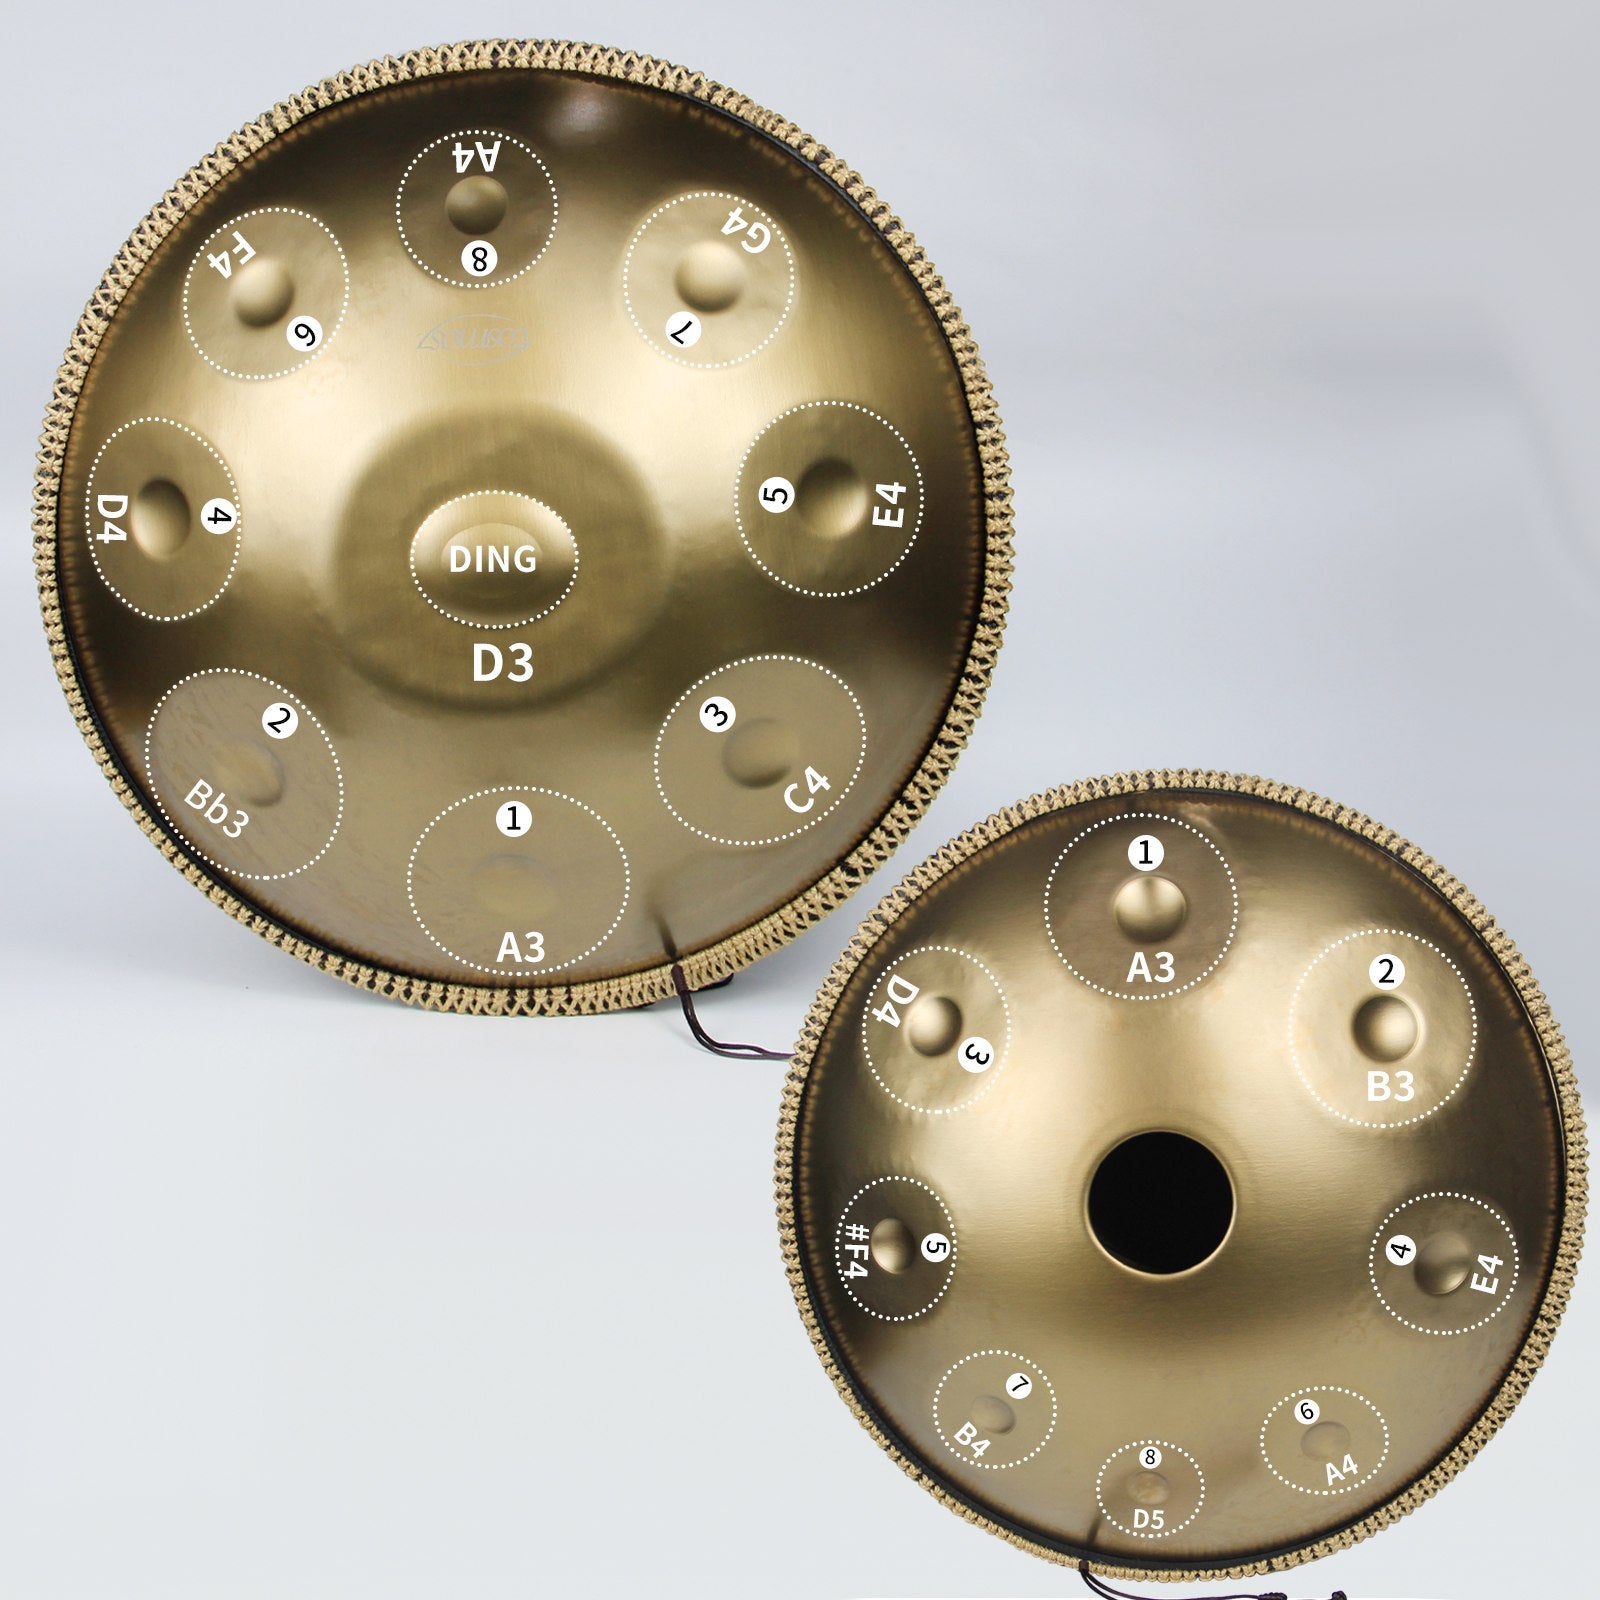
Once you have your bowl-shaped steel, it’s time to lay out the notes. The layout is crucial for sound clarity. Use templates to mark the note positions accurately. Ensuring the notes are placed to avoid dissonance when played together is vital.
Precise note placement is essential. Here’s why:
- Sound Clarity: Properly placed notes ensure clear, harmonious sound.
- Avoiding Dissonance: Incorrect placement can lead to unpleasant, clashing sounds.
Next, shape the notes using hammers, mallets, and shaping dies. Each note field needs to be carefully crafted to produce the desired sound. Add dimples to give each note its unique character. Dimples are small indentations that affect the tone and resonance. By manipulating the size, depth, and placement of dimples, you can influence the brightness, warmth, and overall character of each note.
Creating Borders
Borders are raised edges around each note. They isolate notes and influence the tonal quality. Use air hammers to create these borders precisely. Properly formed borders enhance the sustainment and articulation of each note.
The importance of borders includes:
- Note Isolation: Prevents unwanted interaction between adjacent notes.
- Tonal Quality: Borders affect the sustain, attack, and articulation of notes.
Mastering border creation is essential for a well-crafted handpan. This step significantly impacts the instrument's overall sound quality.
Heat Treatments
Heat treatment is essential for tuning and stabilizing the handpan. Use torches, kilns, ovens, or furnaces for controlled heating and cooling. Heat treatments affect the timbre, stability, and sustainability of the instrument.
- Timbre: Heat alters the tonal quality, making it brighter or warmer.
- Stability: Heating helps prevent the handpan from going out of tune over time.
- Sustain: Controlled heating can fine-tune the duration of each note’s resonance.

Understanding the concept of metal’s “memory” is key. When metal is heated and cooled, it “remembers” its shape. This allows for precise adjustments during tuning. Builders utilize this phenomenon to refine the handpan’s form and contribute to its overall tuning process. By strategically applying heat to specific areas, they can make minute adjustments to the curvature of the note fields, influencing the pitch and tonal characteristics of the notes.
Tuning Process
Tuning a handpan is complex and requires a sharp ear. The process involves shaping the metal to adjust the pitch of each note. Hundreds of hammer strikes are applied to fine-tune each note. This step is iterative and demands patience and skill.
Critical listening is essential. Builders must discern subtle pitch variations and ensure all notes harmonize perfectly. Tuning isn’t just about individual notes but creating a cohesive sound across the entire instrument.
The tuning process can be broken down into several key steps:
- Initial Tuning: Rough tuning to get each note close to the desired pitch.
- Fine Tuning: Detailed adjustments to bring each note into exact pitch.
- Harmonic Tuning: Ensuring that overtones and harmonics are in harmony with the fundamental notes.

Achieving precise tuning requires a deep understanding of the relationship between the metal’s form and its resulting sound. This intricate process is often described as the heart of handpan making.
Joining and Final Adjustments
Once the tuning is satisfactory, the two halves of the handpan are joined. Use strong adhesives like specialized epoxies designed for metal bonding. After gluing, retuning might be necessary. This ensures all notes remain in perfect harmony.

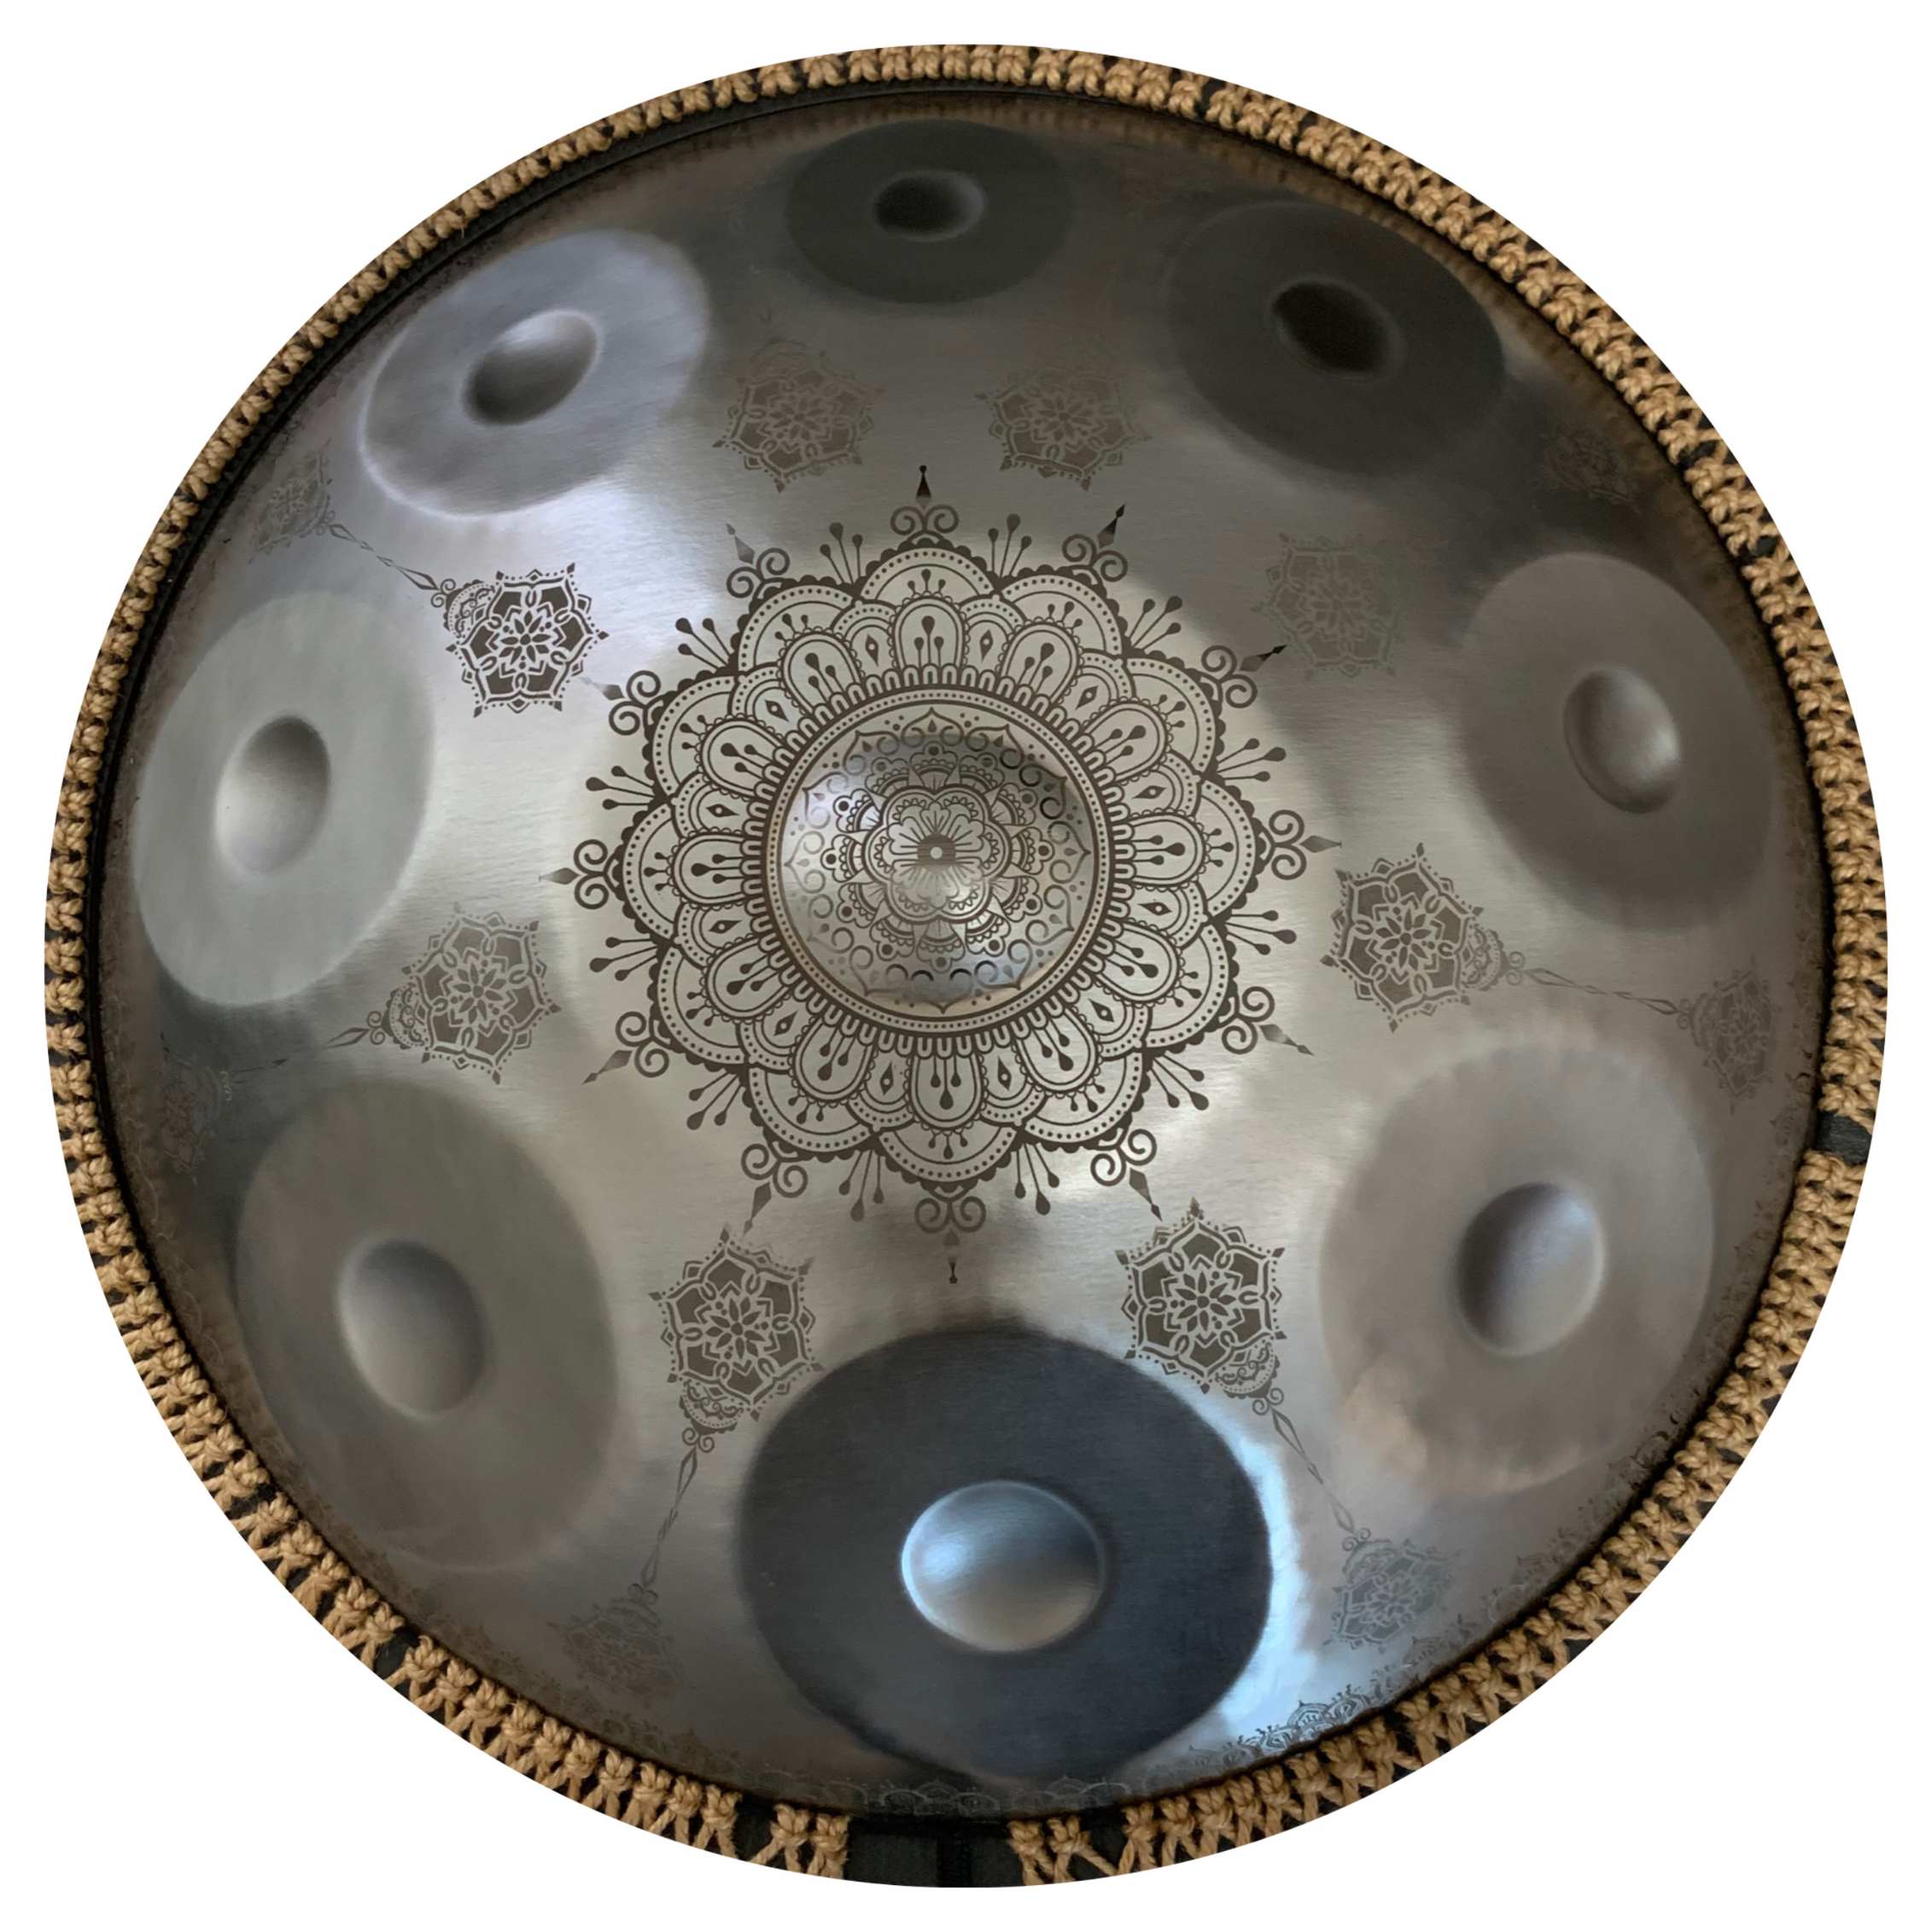
Final touches include:
- Etching a Logo: Personalize your handpan with a logo or signature. This adds a unique touch and reflects your craftsmanship.
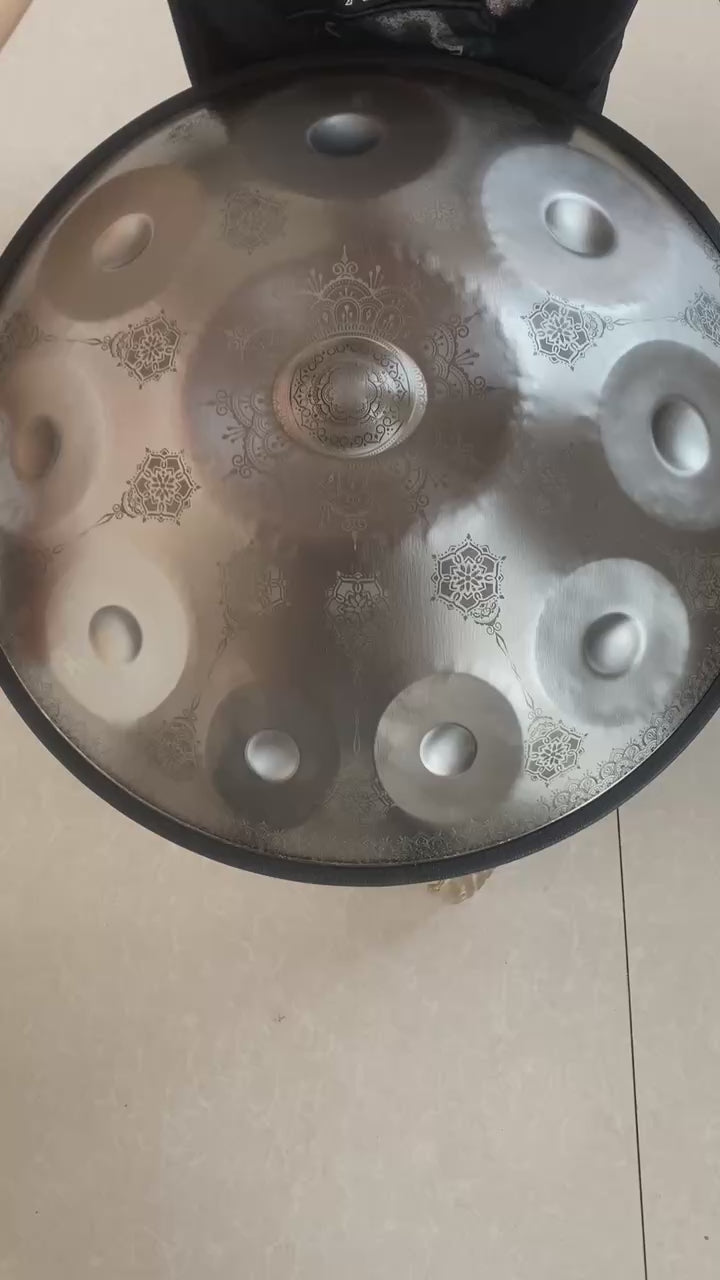
- Trimming and Polishing: Smooth any rough edges and polish the handpan for a professional finish. This enhances both aesthetics and playing comfort.
- Applying Protective Wax: This prevents corrosion and maintains the handpan’s appearance. A coat of protective wax safeguards the instrument from environmental factors and ensures its longevity.
Conclusion
Making your own handpan is a detailed process requiring dedication and skill. From selecting the right steel to tuning the final notes, each step is crucial. If the process seems daunting, consider purchasing a handpan from a reputable maker. Companies like Csomos handpan offer handcrafted handpans for sale, ensuring high quality and beautiful sound. Whether you choose to make your own or buy a handpan, the journey to playing this unique instrument is deeply rewarding.
By understanding and mastering each step of the handpan-making process, you can create a beautiful instrument that produces enchanting sounds. The effort you put into crafting your handpan will be evident every time you play it, making the experience all the more fulfilling.